When I give training on Microsoft Teams to teach employees how to work with this program, I often get the following 3 questions:
- I am looking for a colleague in my organization, but I do not know his last name.
How can I find contact details about him in Microsoft Teams? - How can I search for specific meetings that have taken place or have been scheduled?
- How can I find specific emails with a specific subject?
The answer to these 3 questions is the “Who-Bot”.
The “Who-Bot”
Within Microsoft Teams you have the Who-Bot. This bot makes it possible to quickly search for contact details of your colleagues within your organization.
In addition to contact details, the “Who-Bot” can provide much more information, such as information from existing emails and/or meetings.
This information is searched within all of Office 365.
In the following steps I will explain how to activate and use the “Who-Bot” in Microsoft Teams.
Getting started
On the left side in Microsoft Teams, under the 3 dots, you have extra options.
In between, you see the option ‘Who’.
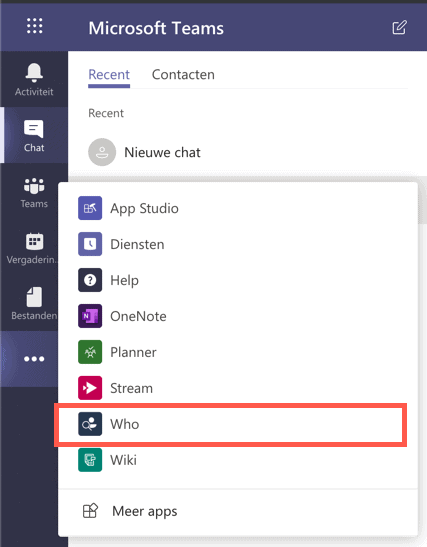
If you click on ‘Who’ and the bot is not yet installed, a pop-up screen will appear, where you indicate that you want to install the bot.
The pop-up also indicates what the “Who-Bot” can do:

Once installed you can choose to open either ‘Bot’ or ‘App’:
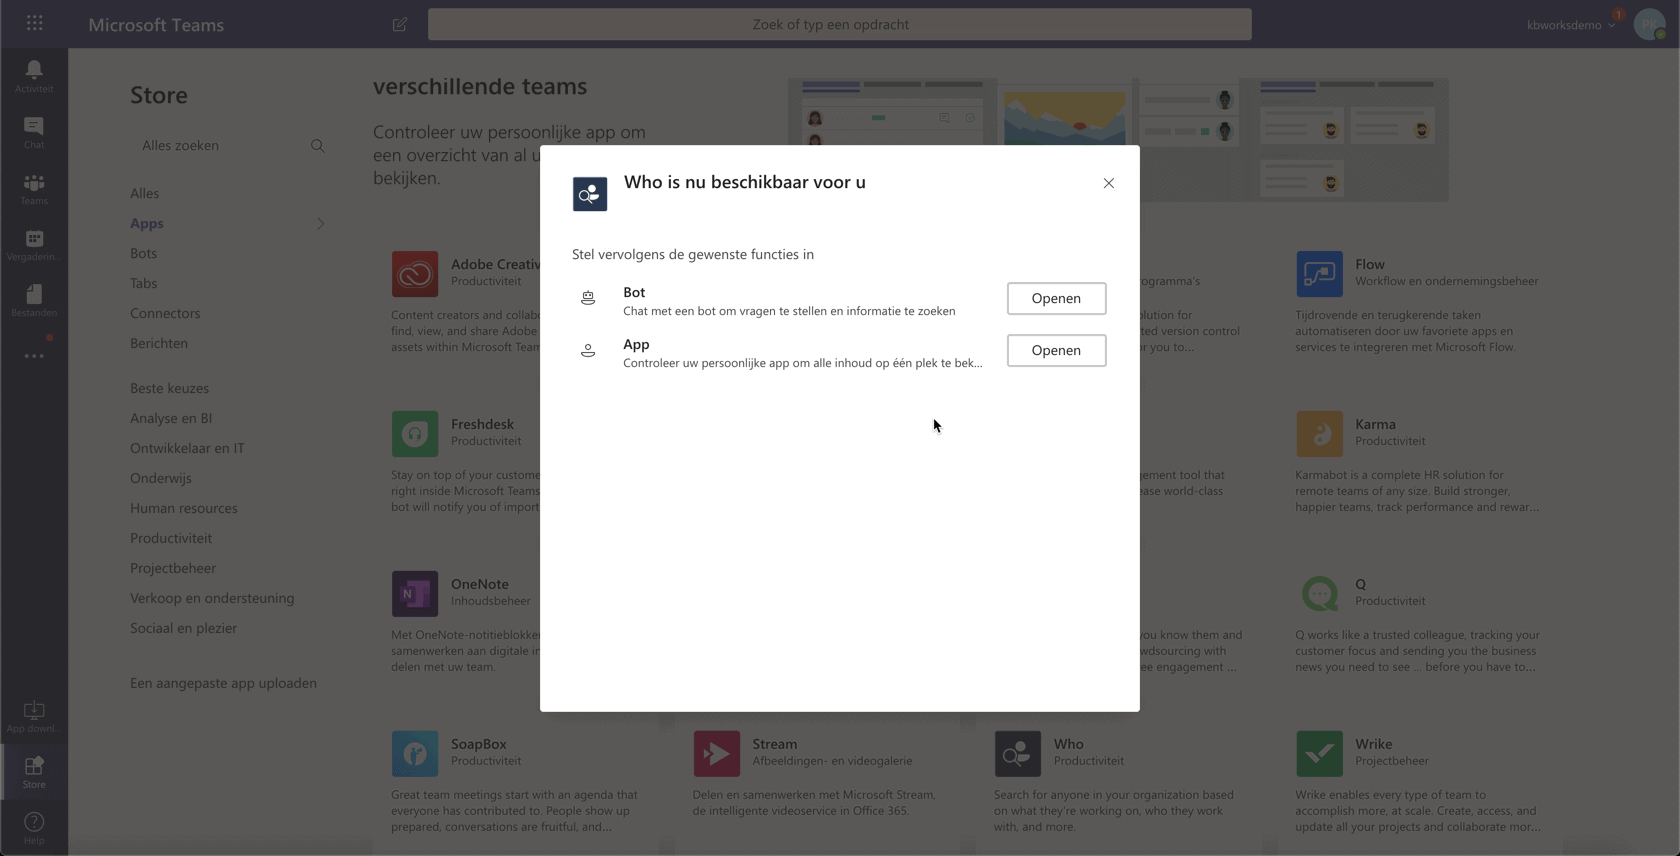
When you click on one of the 2 buttons, you will arrive at the following screen:
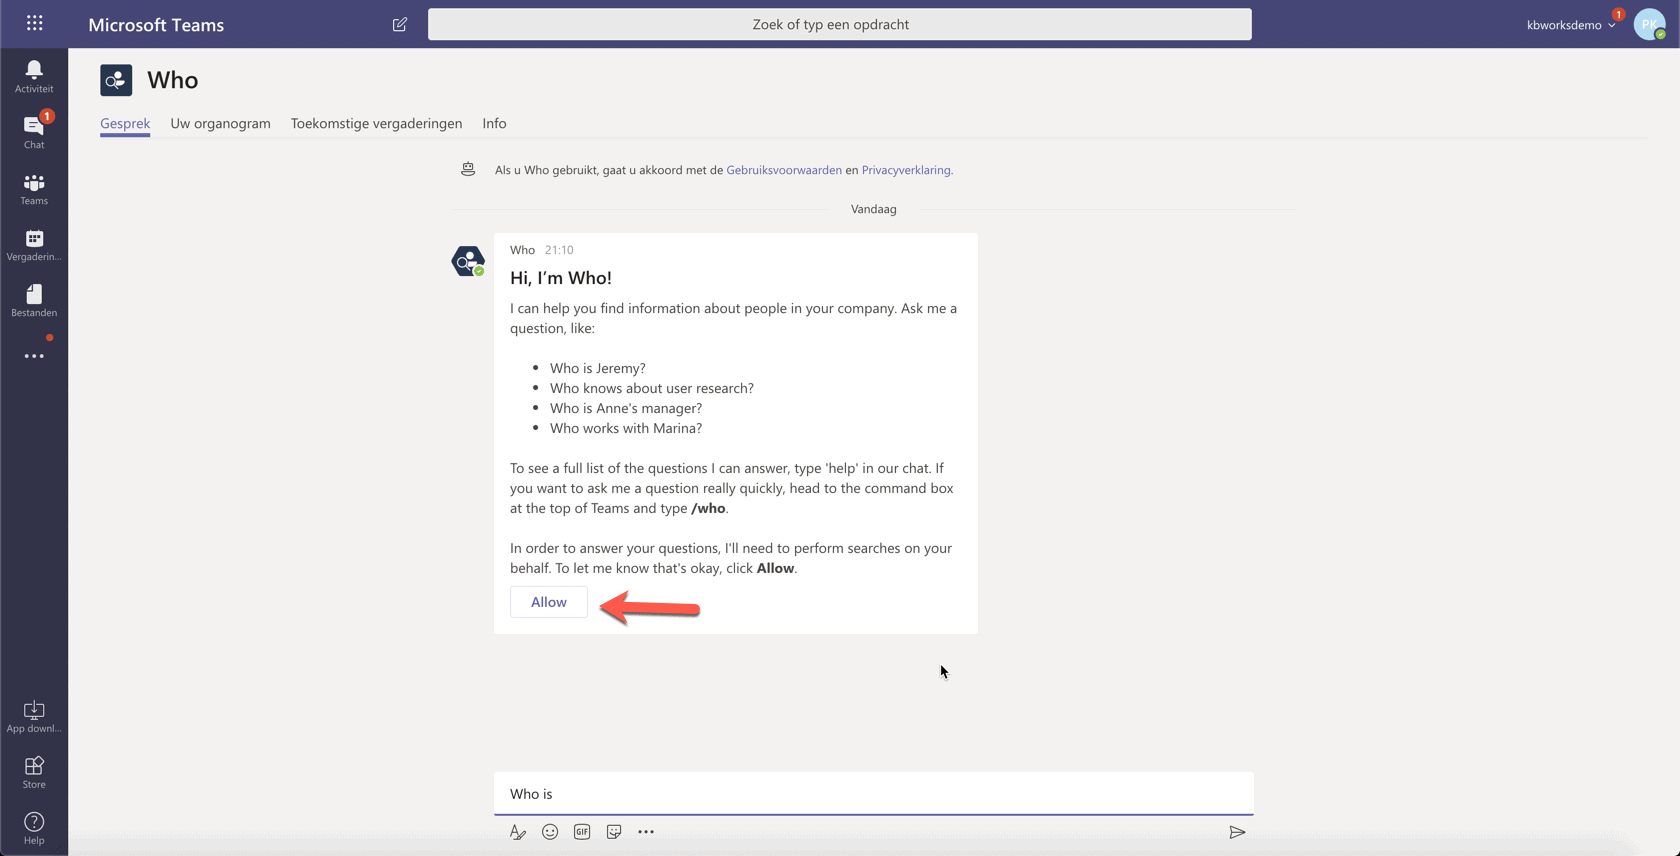
You must now first click on the ‘Allow button’ to use the bot.
At the bottom you will see the window where you can ask questions.
When you click in it, you will see a number of example questions. These are in English. But you can also ask the same question in Dutch.
For example, when we write the question “Who is Paul Keijzers” and click enter, the “Who-Bot” immediately searches for the data within Office 365:
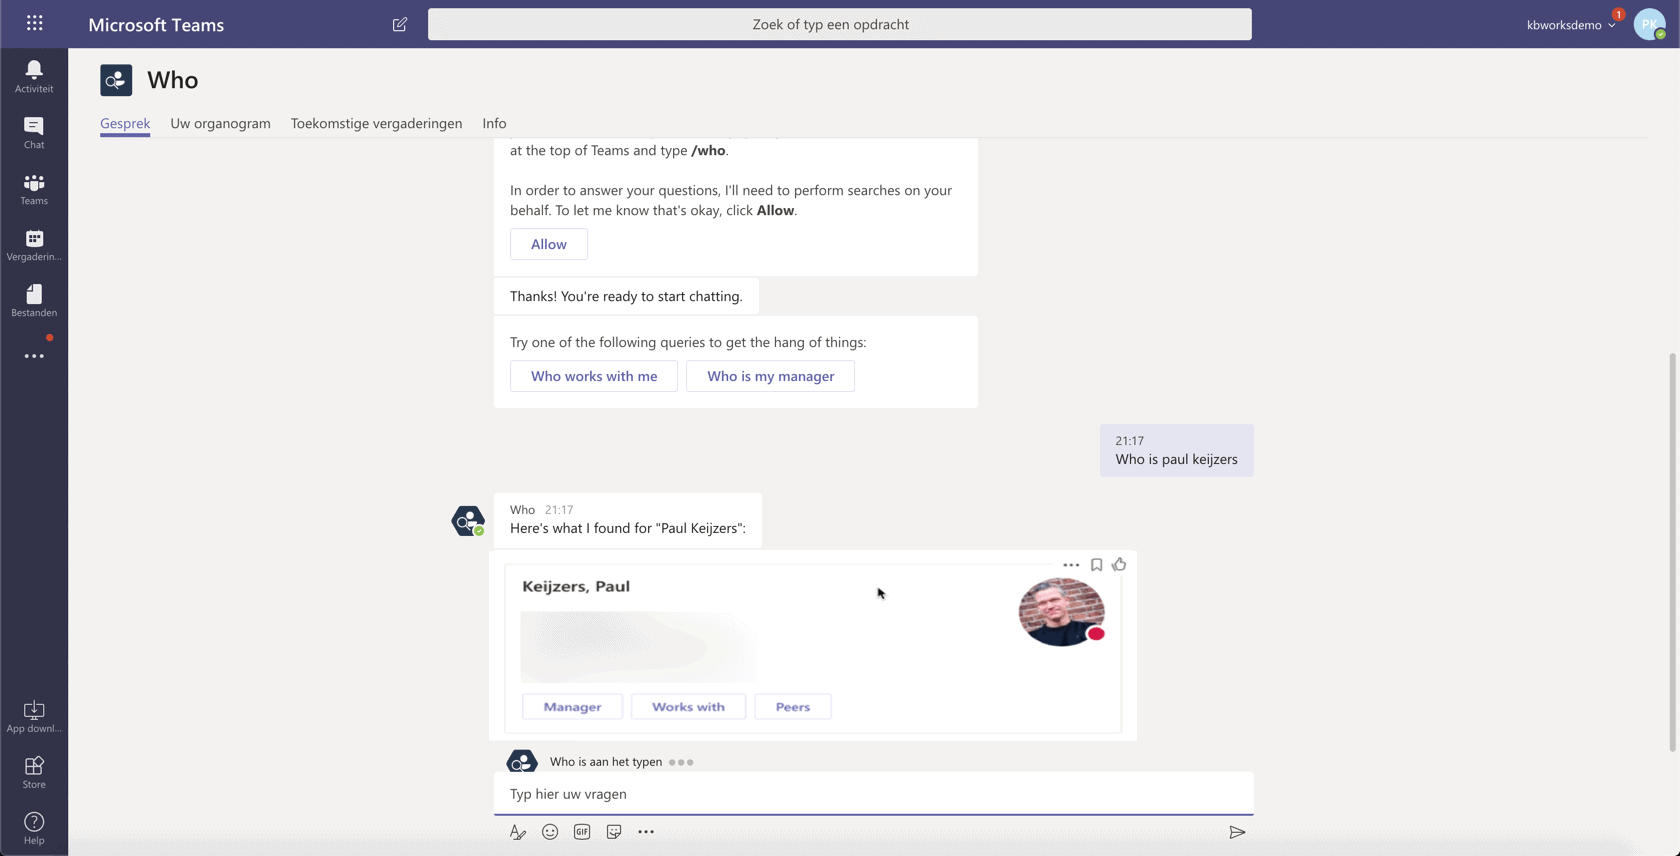
In the above case I wrote the full name.
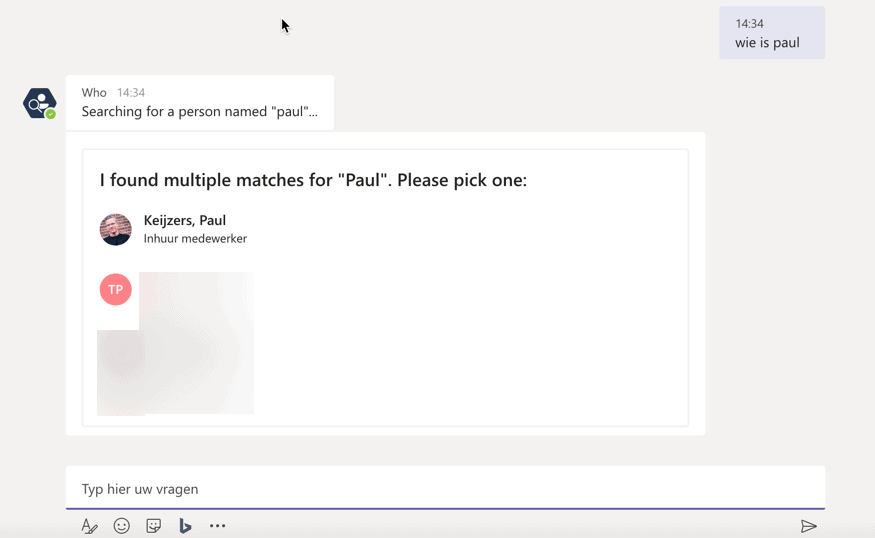
But if I only wrote “Who is Paul”, the first question you get from the “Who-Bot” is “Which Paul do you mean?”.
See the image below:
When your Office 365 profile is fully completed and also correctly filled in in the ‘Active Directory’ (an IT policy is required for this), you will also see the option to chat, email, video call or simply call your colleague directly in a search result.
Organization chart
In addition to the above options, you can also find information about the position of that person within the organization in the search result.
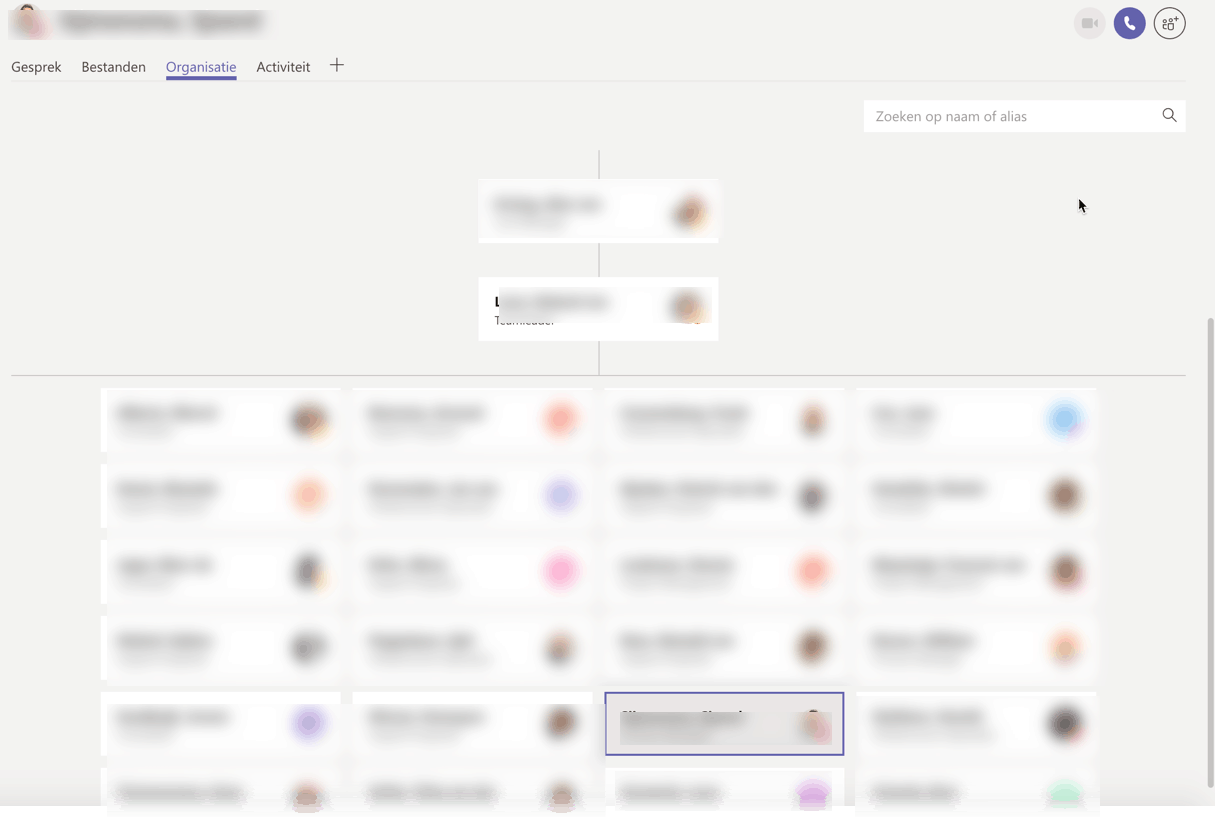
The “Who-Bot” is a very nice and fast way to find information within Office 365 and your organization.
For the “Who-Bot” to function properly, the ‘Active Directory’ must be set up properly. This is an address book of the organization.
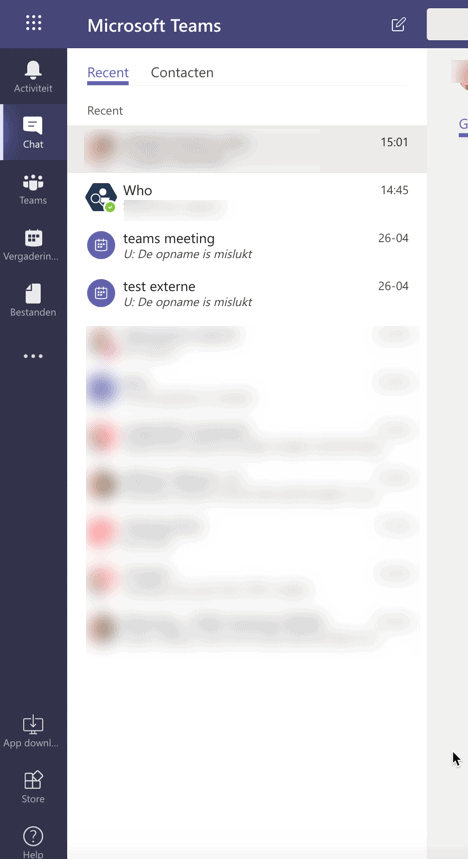
Once you have used the “Who-Bot”, you will also find the bot in your chats. (as shown in the image below)
Do you feel like you are still missing a lot of all the possibilities within Office 365, but you don’t know what that is?
You have the full package, but you only use 10% of it?
How unfortunate is that. Unnecessary waste of time and money.
Take advantage of the possibilities that you already have at your disposal.
Get training about Microsoft Teams and Office 365.

Hoi Paul, kun je de vragen van de Who bot ook uitbreiden of aanpassen?
Hi Chris,
Dit is op dit moment niet mogelijk dan moet je echt zelf een bot gaan bouwen.
thanks, heb jij daar ervaring mee?
Wij hebben hier zeker ervaring mee en doen dit regelmatig.